Push-ups are a foundational exercise in the world of fitness. They require no special equipment, can be done virtually anywhere, and provide a multitude of benefits, from building upper body strength to improving core stability. If you’re new to the world of push-ups, this comprehensive guide is here to help you get started and progress effectively. Whether your goal is to do your first push-up or to master advanced variations, we’ve got you covered.
The Basics of a Push-Up
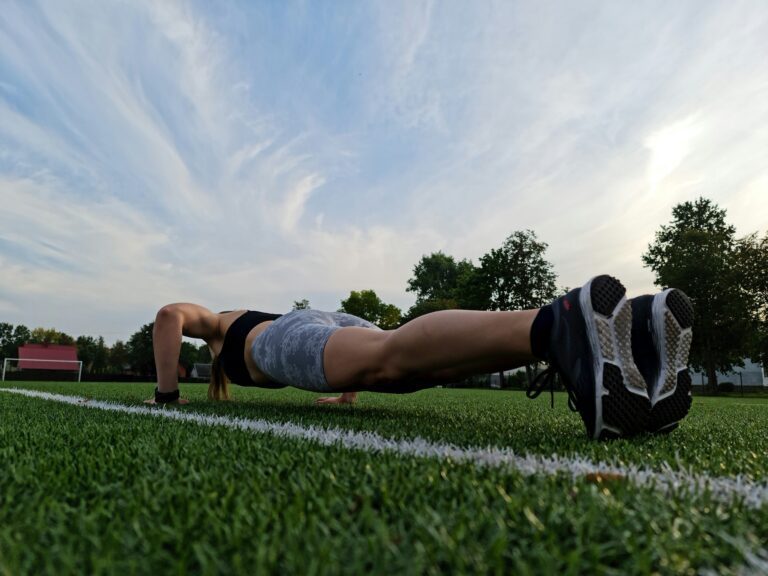
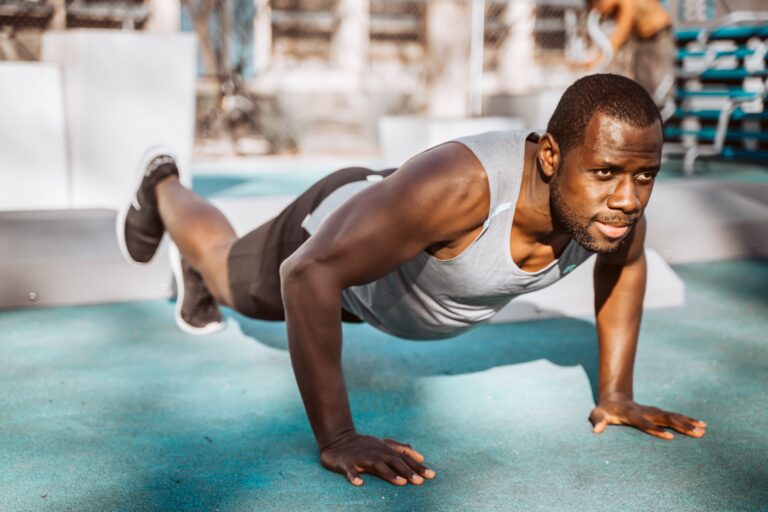
Before we dive into the specifics, let’s begin with the basics. A push-up is a compound exercise that primarily targets the chest, shoulders, and triceps while also engaging the core and lower body for stability. Here’s how to perform a standard push-up:
- Starting Position: Begin in a plank position with your hands placed slightly wider than shoulder-width apart, fingers pointing forward. Your body should form a straight line from head to heels.
- The Descent: Lower your body by bending your elbows, keeping them close to your torso. Your chest should almost touch the ground, and your elbows should form a 45-degree angle with your body.
- The Ascent: Push your body back up to the starting position, fully extending your arms without locking your elbows.
- Repeat: Perform the desired number of repetitions, maintaining proper form throughout.
Common Mistakes to Avoid
As a beginner, it’s essential to learn the correct form and avoid common mistakes that can lead to injury or hinder your progress. Here are some common errors to watch out for:
- Sagging Hips: Keep your body in a straight line from head to heels. Avoid letting your hips sag or pike upwards.
- Elbow Flare: Your elbows should be at a 45-degree angle with your body, not pointing outward. This helps protect your shoulder joints.
- Incomplete Range of Motion: Ensure that you lower your chest close to the ground and fully extend your arms during each repetition.
- Head Position: Maintain a neutral head position by looking slightly ahead rather than at your feet or the ceiling.
Building Strength for Push-Ups
If you’re unable to do a full push-up when you start, don’t be discouraged. It’s common for beginners to lack the necessary upper body strength. Here’s how to build up your strength progressively:
- Wall Push-Ups: Begin by performing push-ups against a wall. Stand arm’s length away from the wall, place your hands on it at shoulder height, and lean forward to push your body towards the wall. Gradually increase the difficulty by stepping further away from the wall.
- Incline Push-Ups: Find an elevated surface like a bench or a sturdy table. Place your hands on the surface, keeping your body straight, and perform push-ups. As you get stronger, lower the height of the surface.
- Knee Push-Ups: Start on your knees instead of your toes while maintaining a straight body line. This reduces the resistance and makes it easier to perform push-ups.
- Negative Push-Ups: Begin in the top push-up position and slowly lower your body to the ground. Once you reach the bottom, use your knees or a wall to help you return to the top position. Focus on the lowering phase to build strength.
Perfecting Your Push-Up Form
Proper form is crucial for getting the most out of your push-ups and preventing injuries. Here are some additional tips to help you perfect your form:
- Engage Your Core: Keep your core muscles tight throughout the exercise. This will help stabilize your body and protect your lower back.
- Controlled Breathing: Inhale as you lower your body and exhale as you push back up. Controlled breathing can help you maintain rhythm and focus.
- Hand Placement: Experiment with different hand positions to target different muscle groups. Wider hand placement works the chest more, while narrower hand placement targets the triceps.
- Wrist Alignment: Make sure your wrists are in line with your shoulders to avoid unnecessary strain.
- Foot Position: Your feet can be together or hip-width apart, depending on what feels most comfortable for you. Just ensure your body remains in a straight line.
Progression and Variations
Once you’ve mastered the basic push-up, it’s time to challenge yourself with variations that target different muscles and increase the intensity. Here are some push-up variations for beginners:
- Diamond Push-Up: Place your hands close together under your chest, forming a diamond shape with your thumbs and index fingers. This targets the triceps.
- Wide-Grip Push-Up: Widen your hand placement beyond shoulder-width. This variation emphasizes the chest muscles.
- Incline Push-Up: Elevate your hands on a bench or step to increase the angle. As you progress, lower the surface height.
- Decline Push-Up: Place your feet on an elevated surface like a bench while keeping your hands on the ground. This variation intensifies the exercise by targeting the upper chest.
- Slow-Paced Push-Up: Perform each phase of the push-up (descent and ascent) slowly to increase time under tension and build muscle strength.
- Staggered Push-Up: Place one hand slightly forward and the other slightly back. This variation challenges balance and engages different muscle fibers.
Creating a Push-Up Routine
To see continuous improvement, it’s essential to incorporate push-ups into a structured workout routine. Here’s a sample routine for beginners:
Day 1 – Full Body Strength Training
- 3 sets of 5-10 wall push-ups (as a warm-up)
- 3 sets of 5-8 incline push-ups
- 3 sets of 5-8 knee push-ups
- 2 sets of plank (hold for as long as possible)
Day 2 – Active Rest or Light Cardio
- Rest or engage in light cardio activities like walking or cycling.
Day 3 – Upper Body Strength Training
- 3 sets of 5-8 standard push-ups
- 3 sets of 5-8 diamond push-ups
- 2 sets of 10 bodyweight squats
Day 4 – Active Rest or Light Cardio
- Rest or engage in light cardio activities like swimming or yoga.
Day 5 – Core and Push-Up Challenge
- 3 sets of 5-8 wide-grip push-ups
- 3 sets of 5-8 slow-paced push-ups
- 3 sets of plank (hold for as long as possible)
Day 6 – Active Rest or Light Cardio
- Rest or engage in light cardio activities like hiking or dancing.
Day 7 – Rest
- Allow your muscles to recover.
As you progress, gradually increase the number of repetitions and sets, reduce the rest time between sets, and experiment with more advanced variations.
Staying Safe and Preventing Injuries
While push-ups are a safe and effective exercise, injuries can occur if you push yourself too hard or use improper form. Here are some tips to stay safe:
- Listen to Your Body: Pay attention to any pain or discomfort. If you experience sharp or persistent pain, stop immediately.
- Warm Up: Always warm up your muscles before performing push-ups to prevent strains and injuries.
- Rest and Recovery: Allow your muscles to recover